
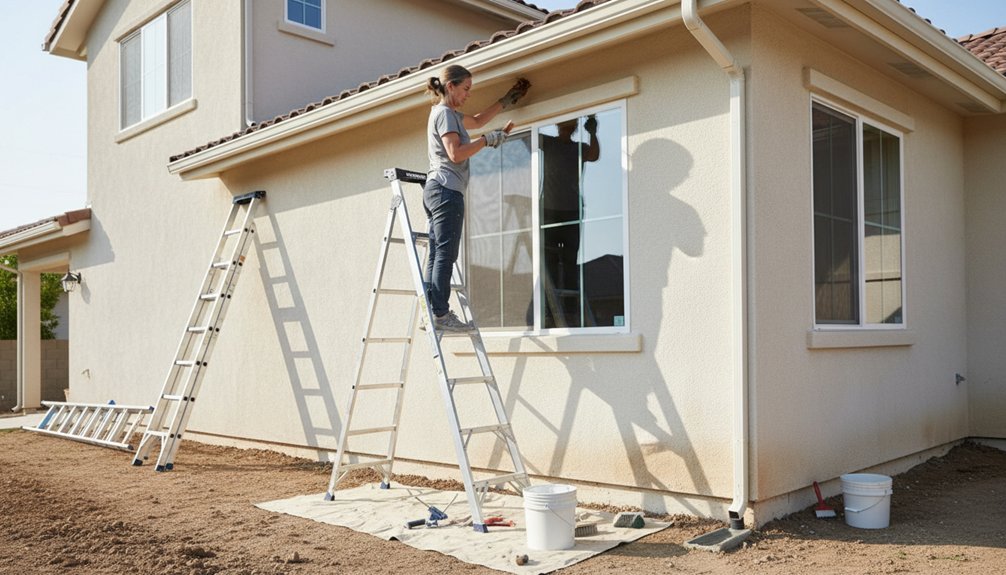
Like a house’s first line of defense, your exterior walls quietly withstand sun, rain, wind, and freezing temperatures. You’ll prevent costly damage by inspecting them in dry, mild weather, cleaning surfaces gently, and addressing cracks, peeling paint, and moisture problems early. Clear gutters, sound caulking, and sealed gaps also protect against water and pests. Yet some warning signs aren’t obvious at first—especially after a severe storm or freeze-thaw cycle.
Key Takeaways
- Inspect exterior walls regularly for cracks, bubbling, peeling, bulging, soft spots, stains, and moisture damage.
- Clean siding gently with manufacturer-approved detergents, soft brushes, and low-pressure water to prevent surface deterioration.
- Maintain gutters and downspouts, clearing debris and directing water away from walls and foundations.
- Seal stable cracks and gaps promptly with compatible exterior-grade sealant after cleaning and drying the surface.
- Consult professionals for structural cracks, leaning walls, widespread deterioration, or damage following severe weather.
Begin Your Exterior Wall Maintenance Check
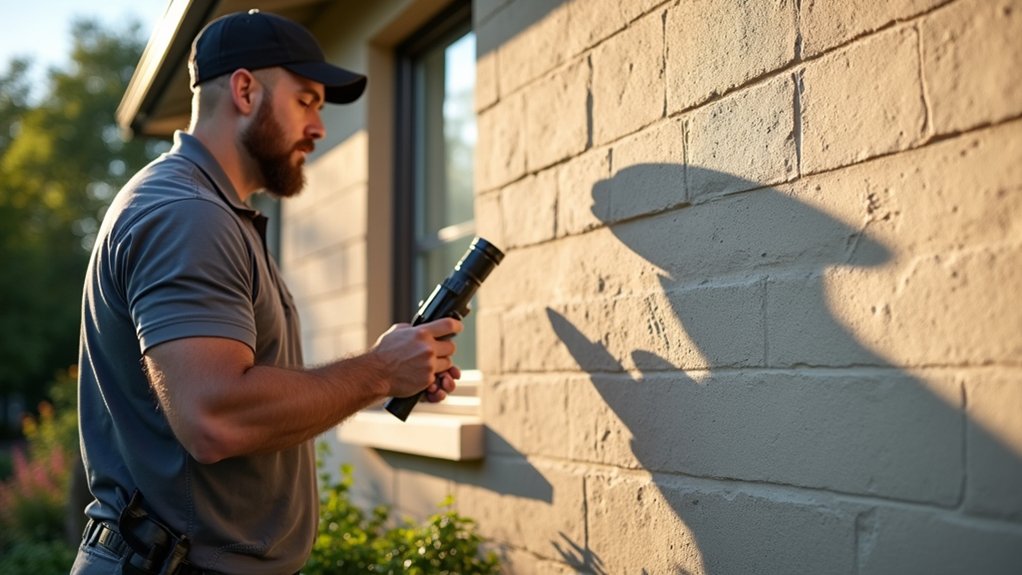
Before inspecting your exterior walls, choose a dry, mild day so moisture, wind, or poor visibility doesn’t hide damage or create safety risks. Walk around your home with a flashlight, notebook, and camera, keeping both feet on stable ground. Start at one corner and follow a consistent route, examining walls, trim, corners, and areas around windows and doors.
Compare the current Wall color with older photos; fading, dark streaks, or uneven patches may indicate sun exposure, trapped moisture, or surface deterioration. Check the Surface texture for bubbling, cracking, peeling, bulging, or soft spots, and note each location.
Look closely beneath roof edges and near downspouts, where runoff commonly affects materials. Don’t touch suspicious areas until you’ve recorded them, and avoid ladders during gusts, rain, frost, or icy conditions.
Clean Exterior Walls and Siding Safely
Choose a cleaning method suited to your siding, and check the weather before you start.
Protect delicate materials by using gentle pressure and manufacturer-approved cleaners.
Remove mold and stains promptly to prevent lasting damage, but don’t clean during freezing temperatures or intense heat.
Choose Safe Cleaning Methods
Use the gentlest cleaning method that removes the dirt without damaging the surface. Start with a soft-bristled brush, a garden hose, and a mild detergent mixed according to its label. Test the solution on a hidden area first, then work from top to bottom so dirty water doesn’t streak cleaned sections.
For Eco friendly cleaning, choose biodegradable soap and avoid chlorine unless a professional recommends it for a specific stain. Don’t use abrasive powders, stiff wire brushes, or high-pressure spray, which can force water into seams and worsen existing cracks.
Check the forecast before you begin: clean on a cloudy, mild day with light wind, and allow the surface to dry fully. This simple DIY maintenance routine helps you remove grime safely and spot problems early.
Protect Siding Materials
Protect siding materials by matching your cleaning approach to the type and condition of the exterior. Check manufacturer guidance before washing, since vinyl, fiber cement, wood, and engineered panels tolerate different pressures, detergents, and temperatures.
Use a soft brush or low-pressure spray, and keep the nozzle moving to prevent forcing water behind seams. Work from the top down, rinse thoroughly, and avoid cleaning during freezing weather, intense heat, or strong wind.
Let wood siding dry fully before sanding, sealing, or painting, and replace cracked caulk or loose panels promptly. Don’t scrape aggressively or use abrasive pads that can remove protective finishes.
Regular inspections help you spot wear early, while thoughtful material selection and proper care support siding durability through seasonal weather and reduce costly repairs.
Prevent Mold And Stains
Clean exterior walls and siding regularly to prevent mold, algae, and weather stains from taking hold. Inspect shaded, damp areas after rainy seasons, especially beneath roof edges, around gutters, and near dense landscaping. Clear clogged gutters and trim plants so walls can dry quickly.
For safe cleaning, choose a mild, manufacturer-approved detergent and a soft brush or low-pressure hose. Test a hidden spot first, and never mix bleach with ammonia or other cleaners. Wear gloves and eye protection, and follow label directions. Rinse thoroughly so residue doesn’t attract dirt.
Address mold promptly with an appropriate exterior cleaner; severe growth may require professional treatment. For stain removal, work from the bottom upward to prevent streaks, then rinse from the top down.
Don’t clean during freezing weather, intense sun, or before rain.
Keep Gutters and Downspouts Clear
When leaves, pine needles, and sediment clog gutters or downspouts, rainwater can overflow against exterior walls, stain siding, and seep into the foundation. Inspect your drainage system in spring and fall, then check it again after major storms.
Remove Gutter debris with gloves and a stable ladder, or hire a professional if the roofline is difficult to reach. Flush each downspout with a hose to confirm steady flow, and direct outlets several feet away from the wall.
Check for loose fasteners, sagging sections, rust, and Downspout damage that could discharge water beside the foundation. Install mesh guards if nearby trees shed heavily, but clean beneath them regularly.
In freezing climates, clear gutters before winter and watch for ice buildup, which can pull them away from the fascia.
Seal Cracks and Gaps Against Moisture
Inspect your exterior walls for cracks and gaps, especially after freezing temperatures, heavy rain, or strong winds.
Clean and dry each opening before applying a weatherproof sealant suited to your wall material.
Seal damaged areas promptly to keep moisture out and prevent more costly repairs.
Inspect Wall Cracks
Small cracks and gaps in an exterior wall can let rain, snowmelt, and humid air reach the framing or insulation, so check the surface regularly—especially after freeze-thaw cycles, storms, or extreme heat. Walk around the building in daylight, using a flashlight to examine corners, joints, window and door trim, and areas beneath roof edges.
Look for widening cracks, displaced mortar, peeling paint, staining, bulging, or soft materials. Mark each defect and photograph it, then recheck after heavy weather to track changes.
Inside, inspect matching areas for damp spots, musty odors, bubbling finishes, or mold; these interior wall vulnerabilities can signal hidden wall insulation issues. Pay attention to cracks that run diagonally from openings or extend through masonry.
If movement, water entry, or structural damage appears, arrange a professional evaluation before repairs.
Apply Weatherproof Sealant
Once you’ve identified stable cracks and gaps, seal them promptly to keep rain, snowmelt, and humid air from reaching the wall assembly. Choose an exterior-grade, flexible sealant compatible with your wall material and local climate. Before application, remove dirt, loose mortar, and old caulk, then let the surface dry completely.
Apply a continuous bead, forcing sealant into the opening without creating thin spots. Tool the joint smoothly, and follow the manufacturer’s curing instructions, especially when temperatures fluctuate or rain threatens. Don’t seal active, widening cracks; have a professional evaluate them first.
Inspect sealed areas each spring and fall for separation, brittleness, or staining. Prompt touch-ups preserve weatherproof barriers and improve sealant longevity. Keep gutters functional and direct downspouts away from walls so your new seal remains effective during every storm.
Check Caulking Around Doors and Windows
Check the caulking around doors and windows at least twice a year and after severe weather, looking for cracks, gaps, peeling, or areas that have pulled away from the frame. Inspect joints where the frame meets the wall, sill, and trim, since these seams often admit wind-driven rain and cold air.
Run a finger along each bead, but don’t press loose material back into place. Clean dust and moisture from small openings, then apply compatible exterior caulk only when the surface is dry and temperatures fall within the product’s recommended range. Seal gaps smoothly, maintaining continuous contact on both sides.
Pay special attention before winter and during rainy seasons. If water has entered the wall cavity or caulk fails repeatedly, schedule a professional inspection promptly to prevent hidden moisture damage and energy loss.
Fix Cracked Masonry and Damaged Siding
Repair cracked masonry and damaged siding as soon as you find them, especially before rain, freezing temperatures, or strong winds arrive. Small masonry cracks can admit water, which expands during freezing weather and weakens surrounding blocks or mortar. Brush away loose debris, then have a qualified professional assess structural cracks, bulging walls, or widespread deterioration.
Timely masonry restoration can prevent costly water intrusion and protect interior finishes.
Inspect siding for warped panels, splits, soft spots, and missing fasteners after storms. Replace damaged pieces promptly, matching the existing material and profile to keep water from reaching sheathing.
If damage extends across a wall or moisture has caused rot, schedule siding replacement rather than patching isolated areas. Don’t seal over wet materials or hide active leaks.
Before repairs, check the forecast and provide temporary covering when necessary. Clear gutters and downspouts so runoff won’t repeatedly soak repaired surfaces.
Repaint Walls After Repairs and Prep
After repairs have fully cured, repaint exterior walls to restore protection and maintain a consistent appearance. Check the forecast first: choose a dry, mild day with limited wind, and avoid direct, intense sunlight that can make paint dry unevenly.
Clean dust, chalking, and residue, then scrape loose coating and sand rough edges. Prime patched areas with a compatible exterior primer to prevent flashing and improve adhesion.
For accurate color matching, use leftover paint from the same batch when possible; otherwise, take a clean sample to your supplier.
Apply two thin, even coats rather than one heavy coat, allowing the manufacturer’s recommended drying time between coats.
Inspect trim, seams, and repaired sections for missed spots. Proper preparation, quality products, and suitable weather improve paint durability and help prevent premature peeling, fading, and moisture damage.
Prevent Pests From Entering Exterior Walls
Keep pests out by sealing gaps around siding, trim, utility lines, vents, windows, doors, and the foundation before they become entry points. Inspect these areas each season, especially after storms, temperature swings, or freeze-thaw cycles that can open cracks. Use exterior-grade caulk for narrow joints, and fill larger openings with durable mesh, mortar, or appropriate sealant.
Install Pest exclusion materials, including rodent barriers, behind vulnerable vents and at wall-floor connects. Keep screens tight, replace damaged weatherstripping, and make certain flashing directs rain away from penetrations.
Trim branches and vines away from walls so insects and rodents have fewer paths upward. Store firewood, mulch, and debris away from the foundation, where moisture and shelter can attract pests. Don’t block required ventilation, and check repairs periodically for chewing, rust, or deterioration.
Know When to Hire a Wall Professional
Call a wall professional when you find structural cracks, bulging or leaning sections, widespread water damage, soft or crumbling materials, or openings that keep returning after repair. These warning signs may indicate hidden movement, drainage problems, or failing support that routine patching won’t solve.
Schedule a wall inspection after severe storms, flooding, freeze-thaw cycles, or prolonged heat, especially if you notice new staining, gaps, or shifting finishes. A professional can trace moisture, assess materials, and recommend durable repairs before damage spreads.
Don’t climb unstable walls, remove damaged masonry, or work near electrical lines yourself. Follow safety precautions by keeping people and vehicles away from hazardous areas and covering exposed sections temporarily without trapping moisture.
Ask for written findings, repair options, and weather-appropriate timing. Prompt expertise can protect your home and prevent costly structural deterioration.
Frequently Asked Questions
How Often Should Exterior Walls Be Professionally Inspected?
You should schedule professional exterior wall inspections annually, ideally before severe weather seasons. Inspectors assess paint durability, identify every wall crack, and recommend timely repairs, helping you prevent moisture intrusion, structural damage, and costly deterioration.
Which Exterior Wall Materials Offer the Best Resistance to Severe Weather?
Fiber-cement siding, brick, and stone offer excellent severe-weather resistance. You’ll benefit from climate resistant materials; apply weatherproof coatings to improve protection. Fiber cement withstands wind and moisture, while masonry resists fire, hail, and temperature swings.
Can Landscaping Choices Affect Exterior Wall Durability?
Yes, landscaping choices affect wall durability. Landscaping impact increases when roots, branches, or irrigation stay close. Choose Plant selection carefully, maintain drainage, trim growth, and direct sprinklers away to reduce moisture, cracking, staining, and storm damage.
Are Exterior Wall Maintenance Costs Covered by Homeowners Insurance?
Insurance claims may cover storm-damaged siding—for example, hail cracking your wall—but routine upkeep usually isn’t covered. Check your policy’s coverage exclusions, document damage promptly, prevent water intrusion, and ask your insurer before hiring repairs.
How Can Energy Efficiency Be Improved Through Exterior Wall Upgrades?
You can improve energy efficiency by adding thermal insulation, sealing cracks, upgrading siding, and installing weather-resistant barriers. These exterior wall upgrades reduce drafts, stabilize indoor temperatures, and deliver energy savings during hot summers and cold winters.
About the Author


