
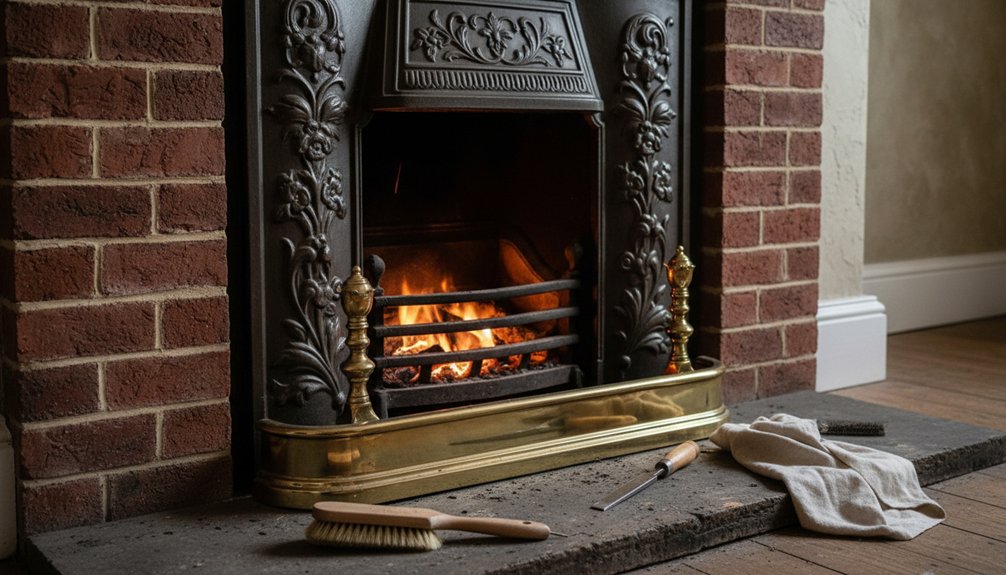
Imagine uncovering an original Victorian fireplace beneath layers of paint, only to find cracked mortar and a blocked flue behind it. Before you light a fire, you’ll need to establish the fireplace’s age, assess its structure, and address essential safety risks. Careful repairs should match the existing brick, plaster, tile, and mortar without erasing historic character. From soot removal to flue relining and efficiency improvements, each decision matters—and one overlooked defect could compromise the entire restoration.
Key Takeaways
- Assess the fireplace’s age, authenticity, materials, alterations, and structural condition before beginning any repairs.
- Have a qualified chimney professional inspect the flue, ventilation, hearth, clearances, and carbon-monoxide safety requirements.
- Preserve original tiles, mantels, grates, ironwork, patina, and decorative details wherever possible, repairing rather than replacing them.
- Use compatible, breathable materials such as lime mortar, traditional plaster, and carefully matched bricks and tiles.
- Improve efficiency discreetly with suitable grates, dampers, firebacks, doors, or approved inserts, followed by regular maintenance and sweeping.
Identify the Fireplace’s Age and Condition
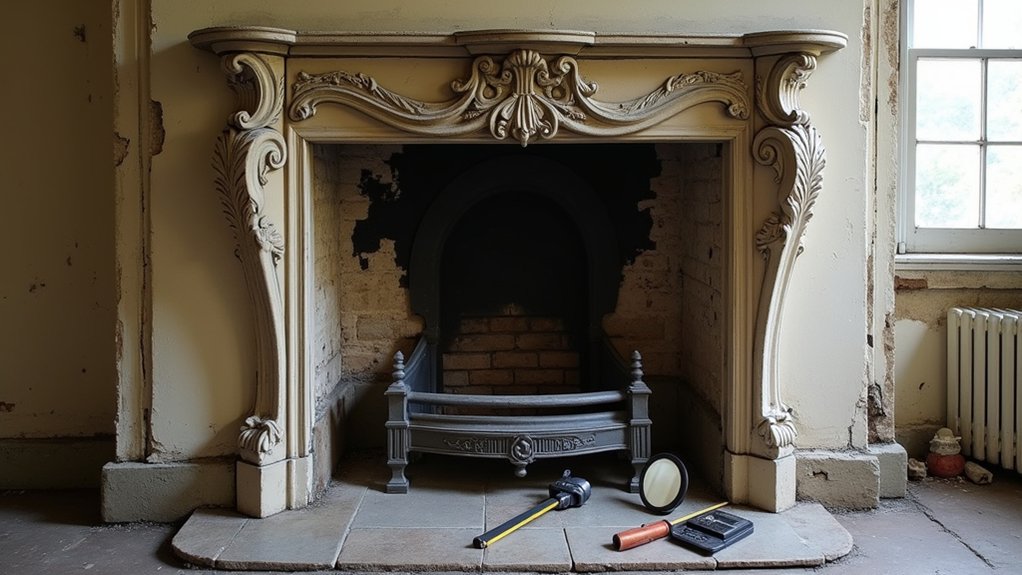
Start by identifying when the fireplace was built and how it was altered over time. Examine its proportions, brick or stonework, mantel, hearth, ironwork, and surviving finishes.
Compare these details with local architectural records, historic photographs, property documents, and period catalogues. You’ll often find that later surrounds, inserts, tiles, or paint obscure the original design. Look for changes in masonry, blocked openings, mismatched materials, and tool marks that reveal successive repairs.
Assess the fireplace’s current condition without disturbing historic fabric. Note cracked bricks, loose joints, spalling stone, damaged plaster, missing components, and signs of settlement. Photograph every elevation and record measurements before planning work.
Consult a conservation professional when evidence conflicts or significant features remain uncertain. This disciplined assessment supports Historical accuracy, guides appropriate repairs, and protects aesthetic preservation throughout the revival.
Assess Period Fireplace Safety First
Once you’ve documented the fireplace’s age and condition, check whether it can be used safely before planning repairs or lighting a fire. Arrange an inspection by a qualified chimney professional, who can assess the flue, ventilation, chimney height, and carbon-monoxide risk without disturbing historic fabric.
Don’t use the fireplace if smoke enters the room, the chimney lacks a liner where one is required, or birds’ nests and debris obstruct the flue. Confirm that hearth dimensions, clearance zones, and surrounding floors meet current safety requirements while respecting listed-building controls.
Keep combustible furnishings and Fireplace accessories well away from the opening, and install suitable smoke and carbon-monoxide alarms nearby.
Review historical documentation for original fuel arrangements, but follow present-day regulations and your inspector’s written advice before authorising any fire.
Diagnose Common Fireplace Damage
Diagnose damage by separating surface wear from defects that threaten stability or safe operation. Inspect the surround for loose slips, hairline fractures, chipped edges, lifting ornament, and gaps around the opening.
Check the mantel for movement, sagging, or failed joints; these signs may indicate hidden structural weakness. Inside the firebox, look for spalled bricks, cracked linings, missing panels, and dark staining that suggests excessive heat or smoke leakage.
Examine the hearth for rocking tiles, settlement, and combustible alterations that reduce its protective function. Photograph every defect, record its location, and note whether it’s active or historic.
Don’t erase evidence of age before establishing Historical authenticity. Preserve sound patina and original Decorative techniques, while treating instability, water damage, and heat-related deterioration as priorities for specialist assessment.
Match Mortar, Plaster, Brick, and Tile
Match replacement mortar, plaster, brick, and tile to the original in composition, colour, texture, size, and firing—not merely by appearance. Matching mortar means selecting a compatible lime-based mix where historic masonry requires breathability; hard cement can trap moisture and spoil the building’s performance.
For restoring plaster, use traditional lime plaster and reproduce the original float, trowel, or polished finish.
Obtain bricks from a reclamation yard or commission handmade replacements, checking dimensions and porosity against surrounding work.
Cleaning brickwork should reveal its character without sandblasting, aggressive chemicals, or excessive water pressure. Test any method on an inconspicuous area first.
Treat tile preservation as a priority: retain sound originals, record their layout, and source replacements with comparable clay, glaze, thickness, and tonal variation. A specialist can analyse uncertain materials before you commit.
Repair Cracks and Damaged Masonry
With compatible materials identified, repair cracks and damaged masonry according to their cause, not just their appearance. First, determine whether movement, settlement, moisture, heat, or failing mortar created the defect. Mark cracks and monitor them before filling; active movement requires professional assessment, not cosmetic patching.
Rake out loose mortar by hand, protecting sound brick edges, then repoint with a compatible, breathable mix. Don’t use hard cement mortar on soft historic brick, as it can trap moisture and accelerate damage.
Replace severely damaged units with reclaimed or closely matched brick, maintaining original dimensions, bond, and tooling. Careful material sourcing supports historical accuracy while avoiding visually jarring repairs.
Let masonry cure gradually, shielded from frost and intense heat. If structural instability, bulging, or chimney movement appears, stop work and consult a conservation specialist.
Restore Period Fireplace Tiles Carefully
Before lifting a period fireplace tile, identify whether its damage comes from heat, moisture, impact, or movement, since each cause calls for a different repair. Photograph its position, then mark the back and surrounding layout before removal.
Ease out loose tiles with a thin palette knife; don’t force sound pieces, which may crack or disturb original bedding. Save fragments and test a compatible lime-based adhesive or grout on an inconspicuous area.
Match replacement tiles by clay body, glaze, colour, size, and surface wear, rather than choosing a modern imitation. Preserve handmade irregularities, ornamental detailing, and decorative mosaics as evidence of the fireplace’s history.
Re-bed tiles on a stable, level surface, maintaining original joints and alignment. If several tiles have shifted, consult a conservator before resetting them.
Clean Soot Without Damaging Original Surfaces
Once tiles are secure, clean soot from the fireplace surround with the gentlest method that suits the original material. Begin by vacuuming loose dust through a soft brush attachment; don’t scrub, which can drive soot into porous surfaces. Test every cleaning solution on an inconspicuous area first.
For glazed tiles, use a barely damp cotton cloth and a small amount of pH-neutral soap, then dry immediately.
Treat unglazed brick, stone, and painted finishes more cautiously: start with a dry smoke sponge, lifting rather than rubbing. Avoid bleach, abrasive powders, wire brushes, and excessive water, which may stain, erode, or loosen historic finishes.
Work in small sections, change cloths frequently, and document each step. Effective soot removal depends on restraint, while surface preservation should guide every decision.
Stop if colour transfers or damage appears.
Repair or Reline the Period Fireplace Flue
Before repairing or relining, have you assess the flue for cracks, obstructions, damp, and unsafe leakage.
You’ll then choose a compatible method—such as a flexible liner or carefully specified mortar system—while protecting the original fabric.
Use a qualified specialist to guarantee the work meets current safety standards without compromising the fireplace’s heritage character.
Assess Flue Condition
A sound flue is essential to the safe operation of a period fireplace, so have a qualified chimney professional inspect its full length for cracks, open joints, tar deposits, damp, and obstructions. Ask for a documented assessment, including chimney height, liner material, flue dimensions, and evidence of previous alterations.
Smoke testing can reveal leakage into rooms, while CCTV inspection may identify hidden damage that visual checks miss. Treat staining, crumbling mortar, or persistent condensation as warning signs, not minor cosmetic defects.
Confirm that the flue suits your appliance and meets current safety requirements before lighting a fire. Record original construction details, because Historical accuracy should guide necessary repairs.
With careful diagnosis, you’ll protect masonry, support aesthetic restoration, and preserve the fireplace’s character without concealing defects.
Choose Relining Methods
Choose a relining method that addresses the flue’s defects without erasing the fireplace’s historic fabric. After evaluating damage, ask a qualified chimney professional to compare repair, partial relining, and full relining.
You may repair sound masonry with compatible mortar, but extensive cracking, leakage, or an oversized passage usually requires a certified liner.
Select a clay, pumice, cast-in-place, or stainless-steel system according to the appliance, flue shape, moisture exposure, and local regulations. Material compatibility matters: an unsuitable liner can trap moisture, accelerate decay, or fail under heat.
Confirm that the proposal preserves Historical authenticity, including original openings, proportions, and visible brickwork. Don’t accept a one-size-fits-all solution.
Require documentation, appropriate clearances, access for sweeping, and commissioning tests. Obtain conservation approval where listed-building controls apply before installation begins.
Improve Efficiency Without Losing Character
You can improve firebox efficiency with a correctly sized grate, a controllable damper, and sound, heat-resistant linings.
Preserve original surrounds, ironwork, and masonry wherever possible, repairing rather than replacing character-defining features.
Where appropriate, install an energy-saving insert that fits the opening discreetly and meets current safety standards.
Upgrade Firebox Efficiency
To improve a period fireplace’s performance without erasing its character, start by having the firebox assessed for soundness, draft, and proportion. A qualified specialist can recommend a compatible refractory lining, which withstands higher temperatures and directs more heat into the room.
Repair cracked joints with heat-rated mortar, and correct gaps that allow combustion gases to escape. If the opening is oversized, consider a discreet, properly fitted insert or grate designed for the existing dimensions. You’ll gain a cleaner burn and steadier warmth without relying entirely on Modern heating.
Choose Fireplace accessories, such as a close-fitting fireback or well-made doors, to improve heat reflection and control airflow. Before work begins, confirm that the chimney draws safely and meets current requirements.
Regular sweeping and dry, seasoned wood will protect efficiency.
Preserve Original Features
Once the firebox works safely and efficiently, preserve the features that give the fireplace its period character. Retain original surrounds, tiles, grates, mantels, and decorative ironwork whenever they remain sound. Clean gently, using methods appropriate to each material; aggressive abrasives can erase tool marks, finishes, and evidence of age.
Repair cracks and missing details with compatible materials, and document every intervention for future owners. Don’t replace a handmade tile or cast-iron fitting with a modern imitation simply because it’s easier to source.
Seek specialist advice when damage threatens historic fabric, particularly on listed or architecturally significant properties. Historical accuracy should guide every decision, while aesthetic preservation keeps the room’s proportions, patina, and craftsmanship intact.
Discreet draught control and careful maintenance can improve comfort without concealing or altering these defining features.
Install Energy-Saving Inserts
A discreet, correctly sized insert can make an open period fireplace far more efficient without sacrificing its character. Choose a wood-burning, gas, or electric model that suits your home, chimney, and local regulations.
Before installation, have a qualified professional inspect the flue, masonry, ventilation, and hearth; never conceal structural defects behind a new appliance.
Select a design with a shallow profile, period-appropriate materials, and a finish that complements your Historic decor. A conservation-minded installer can add a reversible register plate or liner while preserving original surrounds, tiles, and mantels.
Don’t over-modernise the room: retain the fireplace’s proportions, then use Vintage accessories sparingly to reinforce its history.
Arrange annual servicing, clean the flue as recommended, and fit carbon-monoxide alarms to keep improved efficiency safe.
Maintain Your Restored Period Fireplace
Regular maintenance protects your restored period fireplace’s historic fabric, appearance, and safe operation. Inspect the hearth, surround, mantel, fireback, and mortar joints each season for cracks, damp, movement, or soot deposits.
Arrange professional chimney sweeping at least annually, or more often if you burn frequently, and check that the flue draws properly before lighting a fire.
Use only seasoned, dry wood in an open grate; never burn painted timber, rubbish, or treated offcuts.
Clean metalwork gently with suitable products, and avoid abrasive methods that could remove original finishes.
Your historical context should guide every intervention: preserve patina where it remains sound, and match materials during repairs.
For aesthetic restoration, dust carefully and address stains without over-cleaning.
Keep carbon-monoxide alarms tested, maintain safe clearances, and record inspections and repairs for future stewardship.
Frequently Asked Questions
Can I Restore a Period Fireplace While Preserving Its Original Decorative Mantel?
Yes, you can restore your fireplace while preserving its original decorative mantel. Prioritize mantel preservation, document existing decorative detailing, repair rather than replace damaged elements, and consult a conservation specialist before altering historic materials.
Do I Need Listed-Building Consent Before Altering a Historic Fireplace?
Yes—before altering a historic fireplace, you’ll need listed-building consent if it’s in a listed property. Contact your local authority first; discuss modern heating and fire safety, and never risk heritage for convenience.
How Much Does Professional Period Fireplace Restoration Typically Cost?
You’ll typically pay £1,500–£5,000 for professional period fireplace restoration, though rarity, damage, materials, and access affect costs. Discuss Fireplace maintenance and Restoration techniques, obtain itemised quotes, and preserve original fabric wherever possible.
Which Specialist Should I Hire to Restore an Antique Fireplace?
Hire a specialist fireplace conservator or period-property restoration contractor. Choose someone who understands restoration techniques, material compatibility, historic masonry, and traditional finishes; verify references, insurance, conservation experience, and a written, reversible treatment plan.
Can a Restored Period Fireplace Increase My Home’s Resale Value?
Yes, a restored period fireplace can increase your home’s resale value by adding character, authenticity, and buyer appeal. Maintain Fireplace maintenance records, balance safety upgrades, and compare Modern fireplace alternatives to demonstrate thoughtful stewardship and functionality.
About the Author


