
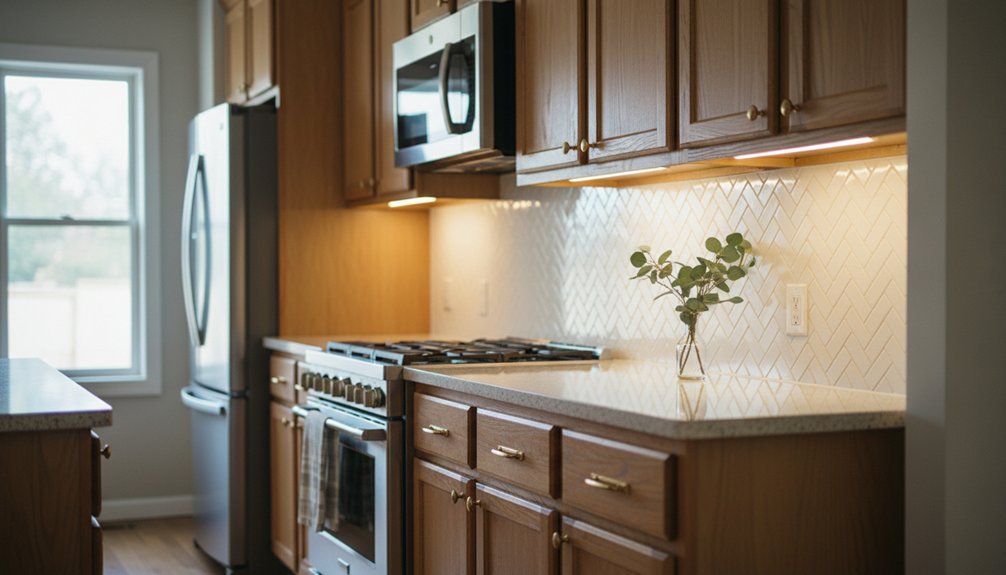
A stylish backsplash can make your dated kitchen feel current without requiring a full renovation. Start by setting a realistic budget, measuring the wall, and comparing affordable options such as ceramic tile, porcelain, or peel-and-stick panels. Then coordinate your choice with the cabinets and counters before planning the layout. Careful preparation and precise cuts matter, especially around outlets—but the right installation approach can keep costs and frustration under control.
Key Takeaways
- Set a budget, measure the backsplash area, and purchase 10–15% extra tile for cuts, mistakes, and future repairs.
- Choose durable ceramic or porcelain tile, or peel-and-stick panels for a faster, temporary kitchen update.
- Coordinate tile colors and patterns with existing cabinets, countertops, flooring, and kitchen lighting.
- Use subway or vertical-stack patterns for affordable style, reserving herringbone or decorative tile for focal areas.
- Prepare the wall, plan outlet cutouts and grout lines, then install tiles with proper adhesive, spacers, grout, and sealing.
Set Your Budget and Backsplash Goals
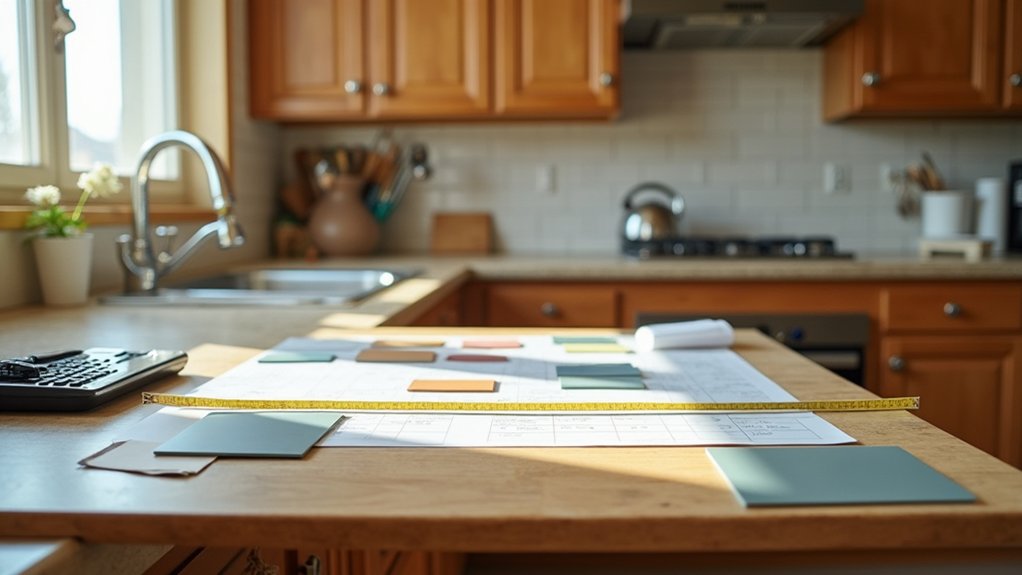
Before you shop for tile, decide what you want the backsplash to accomplish and how much you’re willing to spend. Do you need an easy-clean surface behind the range, a colorful focal point, or a subtle update that complements existing cabinets? Define your priorities before browsing styles.
Effective Budget planning includes tile, adhesive, grout, tools, and installation, plus a small cushion for surprises. Set a firm total, then compare options within that limit.
Material selection affects both cost and character. Ceramic and porcelain often deliver durability at approachable prices, while glass, handmade tile, and intricate patterns can raise the budget.
You can create impact by using a premium tile sparingly as an accent and a simpler field tile elsewhere. Choose a look you’ll enjoy beyond today’s trends.
Measure Your Kitchen Backsplash Area
Measure each wall’s length, then multiply it by the backsplash height to calculate the surface area.
Mark outlets and switches so you can account for cutouts and order materials accurately.
Add a small overage for mistakes without buying more trendy tile than your budget allows.
Measure Wall Length
Accurate measurements keep your backsplash project on budget and prevent costly material shortages. Start at one end of the backsplash wall and measure horizontally to the opposite end. Record the length in inches, then measure each separate wall section, including short returns beside cabinets or appliances. Don’t assume adjoining walls match; older kitchens often have slight differences.
Check your tape measure against fixed landmarks, such as cabinet edges, countertops, and window trim. If a wall changes direction, note each length separately rather than stretching the tape diagonally.
Watch for uneven corners, exposed Wall insulation, or gaps behind cabinets that may affect where tile can start. Photograph your notes for reference, and label every measurement clearly. Before choosing a trend-forward tile, compare samples with your Paint color and existing finishes.
Calculate Surface Area
Once you’ve recorded each wall section, multiply its length by the backsplash height to calculate the square footage. Add the totals from every section for your overall coverage.
If your walls have different heights, calculate each section separately rather than estimating an average. Convert inches to feet before multiplying, and round up slightly to simplify ordering.
Add 10 percent for cuts, breakage, and future repairs; intricate patterns may require 15 percent.
Compare your final area with tile-box coverage, remembering that manufacturers often list coverage in square feet.
This estimate also helps you balance color coordination with your kitchen’s cabinet and countertop tones without overspending.
Before choosing a trendy finish, consider material durability, cleaning demands, and installation waste.
Keep your measurements handy when comparing samples, prices, and layouts.
Account for Outlets
Before finalizing your backsplash total, subtract the space covered by outlets and switch plates from each wall section. Measure each plate’s height and width, then multiply those dimensions by the number of matching plates. For accuracy, include small gaps around plates, since tile shouldn’t press against the covers.
Add back a modest 10% overage for cuts, breakage, and future repairs, even after subtracting outlet areas.
Before removing covers, turn off the circuit and confirm the power is off. Prioritize Outlet safety: don’t cut tile while wires remain exposed, and never bury electrical wiring behind adhesive or mortar. If you’re shifting outlets to suit a trendy layout, hire a licensed electrician.
Choose slim, coordinating plates after installation to create a cleaner finish without overspending. Keep your measurements organized by wall, so ordering stays simple and precise.
Compare Tile, Peel-and-Stick, and Other Materials
You’ll get lasting durability and a polished look from ceramic or porcelain tile, though installation can raise your budget.
Peel-and-stick panels offer a quick, affordable update with trendy patterns and minimal mess.
Compare maintenance, heat resistance, and lifespan before choosing the material that fits your kitchen.
Tile Backsplash Benefits
Tile offers the best balance of durability, style, and long-term value for a kitchen backsplash. You’ll find ceramic and porcelain options that resist heat, moisture, stains, and everyday splashes better than many competing materials.
With countless colors, shapes, and finishes, tile lets you refresh a dated kitchen without committing to a costly full remodel. Choose classic subway tile for a budget-friendly foundation, then add Decorative accents such as a patterned border or contrasting grout for personality.
Tile can also increase your kitchen’s appeal to future buyers, especially when you select timeless designs.
Follow simple Maintenance tips: wipe spills promptly, clean grout regularly, and replace cracked tiles as needed.
Although installation takes planning, a properly installed tile backsplash delivers lasting performance, visual impact, and excellent value for your renovation budget.
Peel-and-Stick Alternatives
Peel-and-stick panels offer a fast, budget-friendly alternative to tile when you want a visible update without grout, mortar, or a long installation. You can choose faux marble, terrazzo, subway tile, or bold geometric patterns to refresh a dated kitchen quickly.
Measure carefully, clean the wall, and plan your layout before starting; DIY installation works best on smooth, dry surfaces.
Panels cost less than many tile systems, though premium designs may approach tile prices. They’re also easier to remove, making them useful for rentals or temporary updates.
However, heat, moisture, and uneven walls can shorten their lifespan, so check the manufacturer’s ratings behind ranges and sinks.
For Eco friendly options, look for recycled-content panels or durable materials you won’t replace soon.
Compare samples, maintenance, and total costs before choosing.
Coordinate Tile With Cabinets and Counters
Once you’ve chosen a backsplash style, coordinate its color and pattern with your cabinets and counters rather than matching every surface exactly. Start with the room’s dominant tone, then choose tile that repeats one subtle shade from your countertop, flooring, or hardware. This approach creates color coordination without making the kitchen feel overly staged.
For dark cabinets, consider warm white, beige, or softly colored tile to add light. With pale cabinets, a deeper neutral can provide definition while remaining timeless. Check style compatibility, too: sleek cabinets pair well with simple contemporary tile, while wood cabinets suit handcrafted-looking finishes.
Bring home sample pieces and view them in morning and evening light. If your counters have bold movement, select a quieter tile to keep the renovation balanced and affordable.
Choose a Tile Layout and Pattern
Choose a classic subway, stacked, herringbone, or basket-weave pattern to shape your kitchen’s style without overspending.
Before buying tile, plan the layout, account for outlets and edges, and include consistent grout spacing.
A simple pattern can also reduce cuts, waste, and installation costs.
Explore Classic Tile Patterns
To give a dated kitchen a fresh, lasting update, start with a tile layout that complements your cabinets and fits your budget. Classic subway tile remains an affordable choice, but you can refresh it with a handmade finish, soft color, or contrasting grout.
For more character, consider stacked rows, basketweave, or a herringbone pattern. Vintage motifs, such as quatrefoils or encaustic-inspired prints, bring warmth to traditional kitchens, while geometric designs create a crisp, modern counterpoint to older cabinetry.
Choose porcelain for durability and ceramic for a lower-cost option with plenty of color and texture. If you love marble’s look, compare marble-look porcelain before committing; it costs less and requires less maintenance.
Order samples first so you can judge undertones beside your counters, flooring, and cabinet finish.
Plan Layout and Spacing
Your tile pattern will look its best when the layout works with the kitchen’s proportions. Measure the backsplash area, then mock up your favorite options on paper or with removable samples.
A classic subway layout keeps costs manageable, while a vertical stack can make low ceilings feel taller. Herringbone adds movement but requires more cutting, so budget extra tile and labor.
For a dated kitchen, choose one focal pattern behind the range and a simpler arrangement elsewhere to control expenses. Plan grout lines around outlets, cabinet edges, and corners before you begin.
Use Color coordination to connect the tile with countertops, hardware, or paint without matching everything exactly. Consider Lighting effects, too: glossy surfaces brighten dim rooms, while matte finishes hide splashes and uneven walls.
Buy 10 percent extra tile for cuts and future repairs.
Prepare the Wall and Gather Your Tools
Before you start tiling, clear the counters, remove outlet covers, and clean the wall with a degreaser so adhesive bonds properly. Solid wall preparation also means repairing nail holes, scraping loose paint, and sanding glossy areas lightly.
Let the surface dry completely, then check for uneven spots with a level. Patch shallow dips with suitable filler, but don’t hide serious moisture damage; fix the source first.
For smart tool selection, gather a tape measure, level, pencil, utility knife, notched trowel, grout float, spacers, sponge, and safety glasses.
Choose tools sized for your backsplash material; smaller mosaics need a fine-notch trowel and careful cutting. Borrow specialty cutters or rent them instead of buying tools for one project.
Keep a bucket, drop cloth, and rags nearby, and protect your countertop before work begins.
Install Your Kitchen Backsplash Step by Step
With the wall clean, level, and dry, plan the layout before spreading adhesive. Check color coordination with your cabinets, counters, and hardware, then snap a level line to guide the first row.
Mix thin-set or use premixed adhesive according to the label. Apply it in small sections with a notched trowel, holding the tool at a consistent angle.
Press each tile firmly into place, using spacers to keep grout lines even. Periodically step back to check alignment and adjust tiles while the adhesive remains workable.
Choose grout that complements the design and supports material durability, especially near the sink or cooktop.
After the adhesive sets, remove spacers and spread grout diagonally across the joints. Wipe away haze with a damp sponge, then seal the grout if recommended.
Cut Tile Around Outlets and Corners
Accurate cuts around outlets and corners will give your backsplash a polished, custom look without wasting expensive tile. Turn off power at the breaker, confirm the outlet is dead, and remove the cover plate. If necessary, loosen the receptacle for safer outlet removal, but don’t disconnect wiring.
Use a cardboard template to mark each opening, then transfer it to the tile’s back. For ceramic tile, score and snap straight lines; use a diamond blade or carbide nippers for L-shaped cuts. Drill corner holes before trimming to reduce cracking.
Measure corners carefully, allowing a slim expansion gap that the cover plate can hide. Dry-fit every piece before applying adhesive.
At outside corners, plan your layout so factory edges face outward, or use slim metal trim for a contemporary finish. Wear eye protection and keep spare tiles handy.
Apply Grout and Seal the Backsplash
Once the tile adhesive has cured, remove spacers and scrape away any residue so the joints are clean and even.
Mix unsanded grout for narrow joints or sanded grout for wider ones, following the package directions.
Choose a Grout color that complements your tile; warm white keeps a dated kitchen fresh, while charcoal adds a modern, graphic edge.
Hold a rubber float at a 45-degree angle, pressing grout firmly across the seams.
Work in small sections, then wipe excess from the tile face with a damp sponge before it hardens.
After the grout cures, buff away haze with a soft cloth.
Complete Sealant application with a compatible penetrating sealer, brushing it onto grout lines and wiping off excess.
Let it cure fully before exposing the backsplash to moisture or cooking splatters.
Prevent Common Backsplash Installation Mistakes
Prevent costly rework by checking each tile’s alignment before the adhesive sets. Use spacers to keep joints consistent, and step back often to spot drifting rows.
Don’t spread more adhesive than you can cover in 10 minutes; a skinning surface won’t bond securely.
Cut tiles with the finished edge facing outward, and measure around outlets twice before trimming.
Turn off power before removing outlet covers, then use box extenders if the backsplash leaves them recessed.
Check your pattern under kitchen lighting, since shadows can highlight uneven cuts or mismatched tones.
Keep extra tiles for future backsplash maintenance, especially if you’re using a discontinued trend color.
Finally, remove adhesive and grout haze promptly, protect the counter, and let everything cure fully before reinstalling hardware or washing the wall.
Frequently Asked Questions
How Do You Remove an Old Backsplash Without Damaging Drywall?
Score grout lines with a utility knife, then warm adhesive using a hair dryer. Pry gently with a flexible putty knife, protecting drywall. Remove backsplash materials slowly; preserve surfaces for updated Tile patterns affordably.
Can a Backsplash Improve Kitchen Resale Value?
Boosting buyer appeal, a backsplash can improve kitchen resale value when you choose timeless tile and tidy installation. Follow kitchen trends, use DIY tips, and set a sensible budget; avoid overly personal designs that limit buyers.
How Do You Clean and Maintain Backsplash Surfaces Long-Term?
You’ll keep backsplash surfaces fresh with gentle Cleaning techniques: wipe spills promptly, use pH-neutral soap, and avoid abrasives. For Maintenance tips, reseal porous tile periodically, replace cracked grout, and choose affordable microfiber cloths.
What Backsplash Options Work Best Behind a Gas Cooktop?
Choose heat-resistant porcelain, ceramic, or stainless steel behind your gas cooktop. Use sealed grout, avoid porous materials, and coordinate Tile patterns with cabinetry for Color coordination. Larger formats reduce cleaning, while affordable subway tile delivers timeless style.
When Should You Hire a Professional Backsplash Installer?
Hire a professional backsplash installer when intricate cuts, uneven walls, or gas/electrical fixtures make DIY installation risky. You’ll protect your budget considerations, avoid costly mistakes, and achieve a polished, trend-aware finish efficiently.
About the Author


