
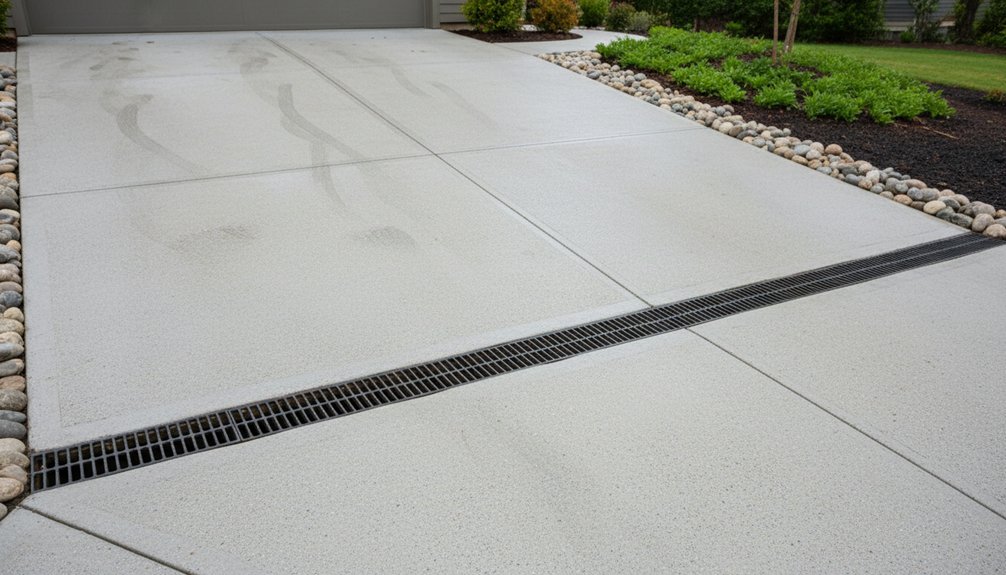
Standing water turns your driveway into a shallow pond, often after rain, snowmelt, or poor grading. Start by tracing where the runoff comes from, then check whether the surface slopes at least 1–2% away from your home. You may need to seal cracks, fill low spots, or add a swale, channel drain, catch basin, or permeable surface. The right fix depends on the water’s path—and one overlooked source could be causing the problem.
Key Takeaways
- Identify runoff sources by observing water movement after storms and marking entry points from roofs, slopes, patios, lawns, or neighboring properties.
- Regrade the driveway to maintain a 1–2% slope away from buildings, keeping finished surfaces below siding and thresholds.
- Repair cracks and low spots with compatible exterior materials, applying thin layers only to clean, dry surfaces.
- Install channel drains, catch basins, or shallow swales to collect and redirect runoff toward approved discharge areas.
- Consider permeable paving, vegetation barriers, and regular drain cleaning to reduce pooling, erosion, and system clogs.
Identify Where the Runoff Comes From
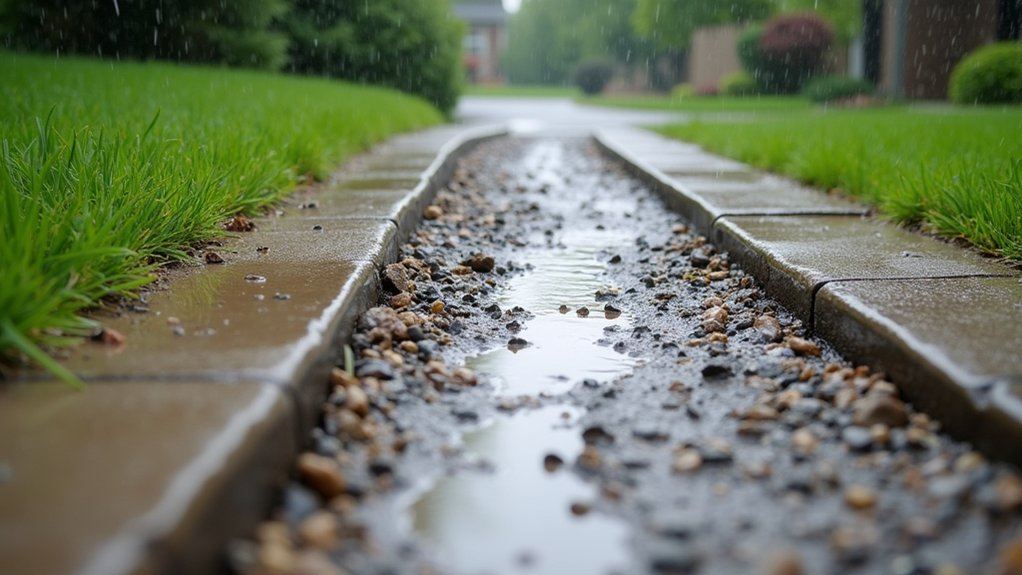
Before choosing a drainage solution, watch how water moves across your property during and after a heavy storm. Note where runoff begins, how quickly it travels, and where it collects near the driveway. Check uphill areas, roof downspouts, patios, lawns, and neighboring surfaces that may direct extra water toward your pavement.
Study the land contour from several viewpoints, especially after intense rain. Low areas, compacted soil, and exposed slopes can reveal the source more clearly than dry conditions. Mark entry points with stakes or temporary flags, then photograph them during and after storms.
Compare these observations with your property’s drainage patterns to distinguish surface runoff from water emerging through saturated ground. Record timing, volume, and weather conditions. This information helps you select an appropriate drainage approach without guessing or overlooking an upstream source.
Fix the Driveway Slope and Grade
Once you’ve identified the runoff source, inspect whether the driveway’s slope directs water toward the garage, foundation, or low spots. During dry weather, use a level, string line, or professional survey to confirm the grade and identify where water should flow.
A paving contractor can remove and rebuild sections to create a consistent slope away from structures, typically about 1–2 percent where site conditions allow. Don’t wait for storm season; saturated soil makes grading work harder and can delay curing.
Landscaping alterations, such as reshaping adjacent soil, may reinforce the new drainage path, but keep finished grades below siding and thresholds. If space is limited, consider drainage system upgrades, including a channel drain at the garage entrance or a swale along the driveway edge.
Verify local permits before changing elevations or directing runoff toward neighboring property.
Seal Cracks and Fill Low Spots
Seal narrow cracks and fill shallow low spots after the driveway surface is clean and dry. Sweep out loose debris, then let moisture evaporate completely. Use a flexible exterior-grade crack sealant for joints and hairline fractures; press it into the opening, and smooth the surface before it skins over.
For wider cracks, remove unstable edges and follow the product’s repair instructions.
To fill low spots, choose a compatible patching compound designed for your driveway material. Apply thin layers rather than one thick lift, feathering each edge to prevent a new ridge. Allow every layer to cure according to the label.
Schedule this work during a dry stretch with moderate temperatures, since rain, frost, or intense heat can weaken adhesion. After curing, inspect the repair and reseal any gaps that reopen. These steps help water shed instead of collecting in damaged areas.
Use a Swale to Divert Runoff
If runoff still reaches the driveway after surface repairs, use a shallow swale to guide it toward a safe discharge area. Shape a gradual channel across the uphill side, giving water a continuous slope away from pavement and foundations.
Keep the swale broad and shallow so it handles intense storms without eroding. Line vulnerable sections with stone, mulch, or established grass, and inspect them after heavy rain.
Landscape integration helps the swale look intentional; coordinate its curves with planting beds and lawn edges. Use Vegetation barriers, such as deep-rooted grasses or low shrubs, to slow flow and trap sediment.
Don’t direct water onto a neighbor’s property, septic area, or unstable slope. Before digging, check local requirements and underground utilities.
Regrade or reinforce the channel if spring thaw, storms, or leaf buildup restrict flow.
Install a Driveway Channel Drain
When runoff crosses the driveway, install a channel drain across the pavement to capture it before it reaches the low side or garage. Choose a load-rated grate that suits vehicle traffic, then cut a precise trench with enough depth for the drain body and concrete bedding.
Set the channel slightly below the pavement surface, maintain a consistent slope toward a permitted discharge point, and connect the outlet securely. Seal the edges with concrete so freeze-thaw cycles and repeated driving won’t loosen the installation.
Clear leaves and grit before major storms, and inspect the grate after heavy rain. For better driveway aesthetics, select a finish that complements your paving.
Thoughtful landscape integration, including clean edging and compatible groundcover, helps the drain blend into your property without blocking its flow.
Add Catch Basins for Heavy Runoff
For heavy runoff, add catch basins at low points where water pools or concentrates before reaching the driveway. Connect each basin to a properly sized solid pipe that carries stormwater to an approved discharge area, drainage swale, or dry well.
Set the grate slightly below surrounding pavement so water enters instead of bypassing the basin. Use a removable grate and sediment basket to simplify cleaning, especially after intense storms, leaf fall, or winter snowmelt.
These maintenance tips help prevent clogs: inspect the basin seasonally, remove debris promptly, and check pipe outlets for erosion or blockage. Secure the grate firmly to protect vehicles and pedestrians.
Confirm local requirements before installation, and avoid directing runoff toward your foundation, neighboring property, or public roadway. A professional can calculate capacity for your site.
Consider a Permeable Driveway Surface
Permeable driveway surfaces, such as pervious concrete, porous asphalt, or permeable pavers, let rainwater filter into the ground instead of rushing toward low spots. By choosing permeable materials, you can reduce puddles, runoff, and winter icing while helping rain soak into the soil.
Ask your installer to evaluate the existing base, soil, slope, and expected traffic before work begins. A properly prepared stone reservoir beneath the surface supports drainage and improves durability.
Keep leaves, dirt, and sand from filling the openings, especially after windy storms or heavy autumn rain. Sweep the driveway regularly, and rinse it occasionally if the manufacturer allows.
Monitor surface permeability after major weather events; slow infiltration may signal clogging. Follow the product’s maintenance guidance to preserve performance through freeze-thaw cycles and summer downpours.
Match the Fix to the Water Problem
Identifying where water collects will help you choose the right drainage fix. If runoff crosses the driveway during heavy rain, install a trench drain at the uphill edge to intercept it before it reaches the pavement.
For puddles caused by low spots, regrade the surface or repair the base so water flows toward a safe outlet. If roof downspouts discharge beside the driveway, extend them into a buried drain or rain garden.
Clay soil may need a catch basin and solid pipe, while sandy soil can often handle a shallow swale. Match the system to your driveway materials, since concrete, asphalt, and pavers tolerate different installation methods.
Also consider landscaping aesthetics: conceal grates, pipes, and outlets with compatible edging or planting. Before winter, clear debris and confirm that water drains freely to prevent ice.
Frequently Asked Questions
How Much Do Professional Driveway Drainage Repairs Typically Cost?
You’ll typically pay $1,000–$5,000 for professional driveway drainage repairs, though complex projects exceed $10,000. Your Drainage system, soil, slope, access, and weather influence Cost estimation, so request several detailed quotes.
Do I Need a Permit to Modify My Driveway Drainage?
You may need a permit to modify your driveway drainage, depending on permit requirements and local regulations. Check with your municipality before construction, especially before rainy weather, to avoid fines, flooding, or required rework.
Can Driveway Drainage Improvements Affect Neighboring Properties?
Yes—you can affect neighboring property impact by redirecting runoff, causing erosion, flooding, or icing. Check legal considerations, discuss plans with neighbors, and install weather-aware controls so water stays contained. Don’t send runoff by telegraph.
When Should I Hire a Drainage Contractor Instead of Fixing It Myself?
Hire a drainage contractor when water threatens foundations, crosses property lines, or persists after DIY solutions. Contractor benefits include proper grading, permits, and weather-aware installation. Choose professional help when heavy rain exposes complex drainage problems you can’t safely resolve.
How Often Should Driveway Drainage Systems Be Inspected and Maintained?
Treat inspections like your driveway’s annual health check: inspect your drainage system twice yearly, especially before and after heavy rain. Clear debris promptly, watch common drainage issues, and schedule professional maintenance to extend drainage system lifespan.
About the Author


