

Restoring an old fireplace starts with restraint: document its brick, tile, mantel, ironwork, and existing wear before you change anything. You’ll need to confirm that the chimney and hearth are safe, then remove soot gently with methods suited to historic materials. Use compatible, breathable repairs and discreet modern upgrades rather than replacing original fabric. The goal isn’t to make the fireplace look new—it’s to preserve its story while returning it to sound, usable condition.
Key Takeaways
- Document the fireplace’s original materials, dimensions, tool marks, patina, damage, and alterations before beginning any restoration.
- Clean gently with soft brushes, dry sponges, or minimal pH-neutral solution, avoiding abrasives, harsh chemicals, and excessive water.
- Repair brick, mortar, tile, wood, and ironwork with compatible, breathable materials, especially lime mortar instead of Portland cement.
- Preserve sound original features, uneven surfaces, dents, mouldings, and age-related character; replace only missing or irreparable elements.
- Have qualified professionals assess the chimney, hearth, flue, ventilation, and modern inserts before upgrading or using the fireplace.
Inspect Your Historic Fireplace Before Repairs
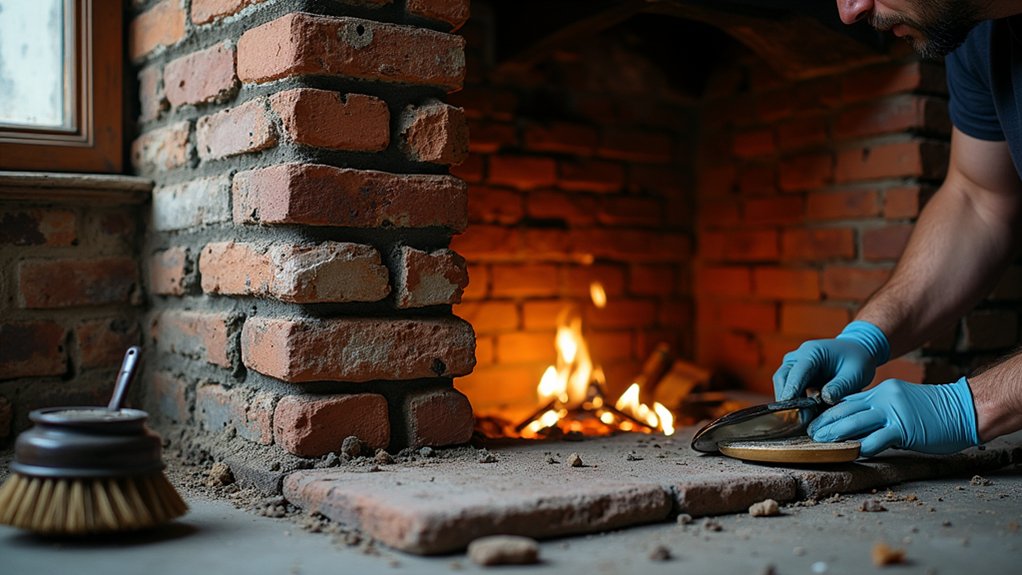
Before repairing a historic fireplace, inspect its structure, materials, and signs of previous alteration. Photograph every surface, joint, ornament, and layer of paint before disturbing anything.
Look for original brick, stone, tile, ironwork, mortar, and plaster, then note later replacements or repairs. Record dimensions, patterns, maker’s marks, and tool marks; these details support historical accuracy during restoration.
Test finishes discreetly, preferably in an inconspicuous area, to identify historic colors without removing more material than necessary.
Map cracks, spalling, staining, loose components, and biological growth, but don’t scrub or dismantle features yet.
Compare your findings with old photographs, building records, and local architectural references. Consult a conservation specialist when evidence conflicts.
Your notes will guide appropriate preservation techniques and help you retain authentic fabric instead of replacing it unnecessarily.
Make Sure the Chimney and Hearth Are Safe
Once you’ve documented the fireplace, confirm that the chimney and hearth can safely support further work.
For chimney safety, hire a qualified inspector to check the flue, masonry joints, flashing, crown, and liner. Look for leaning stacks, loose bricks, water damage, and cracks that could allow heat or gases into the house. Don’t light a fire until a professional approves the entire route and recommends repairs that respect historic construction.
Assess hearth stability at the same time. Check whether the slab sits level, remains firmly bedded, and extends far enough to protect nearby flooring from heat and embers.
Examine surrounding masonry for movement, open joints, or spalling. Avoid covering original stone or brick with modern materials before understanding its condition.
If structural work is necessary, document existing details and use compatible, breathable materials.
Clean Soot Without Damaging Historic Materials
To clean soot, you’ll need to start with the gentlest suitable method, such as a soft brush or dry-cleaning sponge, before considering mild damp cleaning.
Test every method in an inconspicuous area, since historic brick, lime mortar, plaster, and painted finishes can stain or erode easily.
Protect original masonry finishes by avoiding harsh chemicals, abrasive tools, and excessive water.
Choose Gentle Cleaning Methods
Soot removal should begin with the gentlest method that suits the fireplace’s material, since historic brick, stone, tile, and lime-based mortar can scar or crumble under harsh treatment.
Start by vacuuming loose soot with a soft brush attachment, keeping the nozzle just above the surface. Test any approach in an inconspicuous area before proceeding.
For light deposits, use a dry chemical sponge, lifting soot rather than rubbing it deeper into porous surfaces.
If water is appropriate, choose pH-neutral cleaning solutions and apply them sparingly with a barely damp natural sponge. Work in small sections, changing the sponge as it soils.
Gentle scrubbing with a soft brush may loosen stubborn residue, but stop if grit, color, or mortar begins to lift.
Let each area dry naturally before judging results.
Protect Original Masonry Finishes
Gentle cleaning protects more than the fireplace’s appearance—it helps preserve original brick faces, tool marks, lime mortar, glaze, and aged patina that record the surround’s history.
Start by vacuuming loose soot with a soft brush and a HEPA-filtered nozzle, keeping the attachment just above the surface.
Test a dry-cleaning sponge in an inconspicuous area before treating visible staining.
Don’t use water, bleach, acidic cleaners, wire brushes, or abrasive powders; they can drive soot into porous masonry, erode mortar, or strip historic paint.
If damp cleaning proves necessary, use minimal distilled water and blot rather than scrub.
Protect original grout by avoiding saturated joints and harsh agitation.
For stubborn deposits, consult a conservator experienced with historic fireplaces.
Document each finish and repair before cleaning, so you can distinguish authentic wear from removable grime and preserve evidence of craftsmanship.
Repair Historic Brick, Tile, Mortar, and Ironwork
Assess the brick, tile, mortar, and ironwork to identify original materials, hidden damage, and previous repairs before you disturb them.
Repair brick and mortar with compatible, breathable materials, matching the historic color, texture, and joint profile.
Restore tile and ironwork carefully, preserving sound surfaces while replacing only elements that can’t be repaired.
Assess Historic Materials
Before making repairs, document the fireplace’s existing brick, tile, mortar, and ironwork, noting cracks, spalling, loose joints, missing pieces, rust, and signs of past alterations. Photograph each elevation and detail, then create a simple condition map.
Record dimensions, colors, surface textures, tool marks, maker’s stamps, and unusual construction features.
Compare the fireplace with local examples, period photographs, or archival records to identify original elements and later replacements.
For sound Historic preservation decisions, distinguish historic fabric from modern additions before removing anything.
Your Material analysis should consider brick density, tile composition, mortar hardness, glaze, and iron type; consult a conservation professional when sampling or testing materials.
Avoid cleaning aggressively, coating surfaces, or discarding fragments.
Label and store loose pieces safely, preserving evidence for accurate, compatible restoration.
Repair Brick and Mortar
Repair sound historic brick and mortar in place whenever possible, preserving original courses, tooling marks, and evidence of past repairs. First, document loose joints, cracks, spalling, and damp areas, then address the moisture source before repointing.
Remove failed mortar by hand, carefully matching the existing joint profile and depth; don’t grind against fragile brick edges. Use a compatible, vapor-permeable lime mortar rather than hard Portland cement, which can trap moisture and accelerate masonry damage.
Rebuild severely deteriorated sections with salvaged brick that matches the original size, color, and firing—not overly uniform replacements.
Check the firebox and chimney for safe, continuous construction, and correct problems affecting fireplace ventilation. Improve chimney insulation only where appropriate, retaining historic masonry and allowing the assembly to dry.
Let repairs cure gradually, protected from frost, rain, and rapid heat.
Restore Tile and Ironwork
Clean historic tile and ironwork gently, retaining sound pieces, original finishes, maker’s marks, and signs of handwork. Vacuum loose soot with a soft brush attachment, then test a pH-neutral cleaner in an inconspicuous area. Don’t soak porous tiles or scrub glazed surfaces; moisture can loosen bedding and stain adjoining mortar.
Replace only tiles that are missing or beyond repair, matching dimensions, glaze, color variation, and installation pattern. Keep salvaged fragments for future reference.
For iron grates, brush away surface rust, avoiding aggressive grinding that erases Artistic Detailing. Stabilize remaining metal with a compatible rust converter, then apply a heat-rated coating appropriate for fireplace use. Don’t paint contact surfaces or conceal decorative relief.
If a tile is cracked but stable, leave it in place or consult a conservator before removal. Document each intervention as part of responsible Vintage Restoration.
Restore the Mantel Without Erasing Its Age
Treat the mantel as part of the fireplace’s history, not as a surface that needs to look new. Begin by photographing its joints, tool marks, stains, and worn edges.
Test a hidden area before cleaning; use a soft brush, diluted gentle soap, and minimal water on painted or timber surfaces. Lift soot carefully rather than scrubbing away the patina that records years of use.
Repair loose trim with reversible methods where possible, and match missing details by studying surviving mouldings elsewhere in the room. Don’t flatten uneven boards or replace small dents that remain structurally sound.
If Modern heating has changed how you use the room, preserve the mantel’s visual relationship with the firebox. Let Contemporary design sit around its character instead of forcing historic woodwork into a pristine, uniform finish.
Choose Compatible Finishes and Safe Upgrades
Once the mantel and firebox are sound, choose finishes that suit their age and materials rather than imposing a uniform modern coating. Test paint, limewash, or mineral pigment on an inconspicuous area first; breathable coatings generally suit historic masonry better than impermeable latex.
Preserve sound brick, tile, and stone, and repair only damaged sections with compatible mortar, not hard cement that can trap moisture.
For wood, use a shellac, wax, or paint system appropriate to the original finish, after removing soot and loose layers safely.
Decorative finishes should support existing craftsmanship, not imitate wear artificially.
For Modern upgrades, fit a certified insert, flue liner, or spark guard only after a qualified professional assesses ventilation and clearances.
Choose discreet components, and never block required vents or alter historic fabric unnecessarily.
Maintain Your Restored Fireplace for Years
With regular, gentle care, you’ll protect both the fireplace’s historic materials and its safe operation. Dust the mantel, surround, and hearth with a soft brush or vacuum’s lowest setting; avoid abrasive cleaners that can strip aged finishes or damage original brick.
Inspect mortar joints, tiles, and metalwork each season, noting cracks, looseness, rust, or dampness before small defects worsen. Have a qualified chimney professional sweep and examine the flue at recommended intervals, especially if you burn wood.
Keep combustibles well clear, and test carbon-monoxide alarms regularly.
Choose Modern accessories, such as a discreet spark guard or fitted grate, only when they respect the period design.
Improve Energy efficiency with a properly fitted damper or insert approved for your fireplace, never by sealing necessary ventilation.
Record repairs, materials, and inspections for future caretakers.
Frequently Asked Questions
Can I Use My Restored Historic Fireplace for Cooking?
Yes, you can cook there, but prioritize Fireplace safety: inspect the chimney, use proper cookware, and control heat. Balance Modern vs. vintage practices, preserving original materials while following current ventilation and fire codes.
How Much Does Professional Fireplace Restoration Typically Cost?
Professional fireplace restoration typically costs $2,000–$10,000, depending on damage, materials, and historical accuracy. You’ll pay more for masonry repairs, chimney work, specialist craftsmanship, and compliance inspections; prioritize DIY safety over cosmetic savings.
Do I Need Permits Before Restoring My Old Fireplace?
You may need permits before restoring your old fireplace. Check local Permit requirements and restoration regulations, especially for structural changes, chimney work, gas conversion, or relining. Contact your building department and heritage authority first; rules vary locally.
Can Restored Fireplaces Increase My Home’s Resale Value?
Yes, you can increase resale value—but the payoff depends on buyer appeal. Preserve original fireplace design, use compatible restoration techniques, document permitted work, and prioritize safe operation; authentic craftsmanship often strengthens offers and distinguishes your home.
How Long Does a Complete Historic Fireplace Restoration Usually Take?
A complete historic fireplace restoration usually takes four to twelve weeks. You’ll need time to research fireplace historical significance, assess damage, secure approvals, and apply restoration preservation techniques, with complex masonry or custom work extending timelines.
About the Author


