
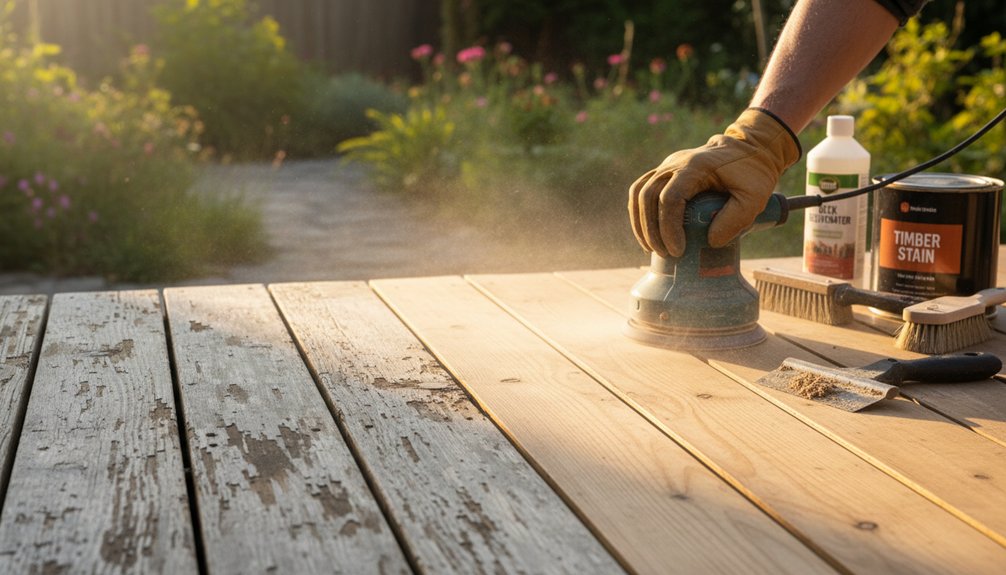
If your deck looks gray, rough, or worn, you can often restore it instead of replacing it. Start by checking the boards, framing, and fasteners for rot or damage, then replace weak sections and tighten anything loose. Next, remove dirt, mold, and old finish before sanding the surface smooth. Once the deck is clean and sound, apply a compatible stain or sealer—but the right preparation determines whether that finish lasts.
Key Takeaways
- Inspect the entire deck for soft wood, sagging, cracks, moisture, insect damage, and loose or unstable structural components.
- Replace rotten boards, damaged supports, and corroded fasteners, sealing cut ends and adding blocking where necessary.
- Clean away debris, mold, mildew, and failing finishes using appropriate brushes, treatments, strippers, and low-pressure washing.
- Sand the dried surface with 60- or 80-grit paper, follow with 100-grit paper, then vacuum away all dust.
- Apply a compatible penetrating stain or sealer to the dry deck, maintaining a wet edge and allowing proper curing time.
Check Whether Your Weathered Deck Can Be Restored

Before you begin repairs, inspect the deck to determine whether it can be safely restored. Walk across every section and note excessive movement, sagging, or soft areas. Probe the surface and visible framing with a screwdriver; sound wood should resist light pressure, while widespread softness may indicate deeper deterioration.
Check posts, beams, joists, stairs, and railings for splitting, moisture damage, or insect activity. Look for mold, persistent dampness, and drainage problems that could continue damaging the structure.
Measure cracks and examine joints without removing boards. If the framing feels unstable, the deck leans, or damage extends through major supports, stop and consult a qualified professional before proceeding.
Minor surface checking, graying, and rough texture usually respond well to deck maintenance and cleaning, allowing weathered wood to receive further restoration.
Replace Rotten Boards and Secure Loose Fasteners
Replace boards that are soft, crumbling, split through, or rotten around fastener holes rather than covering them with paint or filler. For safe deck board replacement, mark the damaged section and cut it over a joist, where you can support both ends. Remove nails or screws carefully, then lift the board without damaging neighboring boards.
Measure and cut a matching replacement, leaving small gaps at the ends and sides for movement. Seal cut ends with a suitable wood preservative before fastening the board to every supporting joist. Check nearby boards for movement, raised heads, or stripped screws.
Complete fastener tightening with a drill set to low torque, driving compatible exterior-rated screws flush with the surface, not below it. Replace corroded fasteners, and add blocking beneath unsupported joints when necessary.
Remove Dirt, Mold, and Old Finish
Once the boards are sound and fasteners are secure, remove dirt, mold, mildew, and failing finish so the wood can dry and accept new treatment.
Sweep away leaves and loose debris, then wet nearby plants before applying a deck cleaner.
Choose cleaning techniques suited to the surface: use a stiff, nonmetallic brush for embedded grime and a low-pressure washer for broad areas.
Keep the nozzle moving and maintain a safe distance to avoid gouging the boards.
Apply a mold and mildew treatment according to its label, allowing the recommended dwell time before rinsing thoroughly.
For old stain or paint, use a compatible chemical stripper and a plastic scraper, protecting your skin and eyes.
Restoration tools should remain clean between sections.
Let the deck dry completely before applying any new finish.
Sand the Deck for a Smooth Surface
After the deck dries completely, sand rough fibers, raised grain, and remaining finish from the boards. Use a random-orbit sander with 60- or 80-grit paper, moving in the direction of the wood grain. Keep the sander level, and don’t linger in one spot; uneven pressure can create dips that remain visible.
For edges, stairs, and narrow spaces, use a sanding block or detail sander. Replace clogged paper promptly so it cuts effectively rather than burnishing the surface.
After the first pass, inspect each board for splinters, stains, and missed finish, then make a light second pass with 100-grit paper. Vacuum dust from the deck and wipe the boards with a clean, dry cloth.
Careful wood preparation supports reliable deck maintenance and a more uniform finish.
Apply Stain or Sealer for Lasting Protection
With the deck clean and fully dry, apply a penetrating exterior stain or water-repellent sealer suited to your wood and climate. Check the label for coverage, drying time, temperature limits, and recoat requirements before you begin.
Consider color options carefully: transparent sealers preserve natural grain, while semi-transparent and solid stains add richer color and conceal more imperfections. Test your selection on an inconspicuous board, since wood absorbs products unevenly.
Use suitable application techniques, including a brush for edges, railings, and end grain, then a roller or pump sprayer for broad boards. Work in small sections, following the grain, and maintain a wet edge to prevent lap marks.
Don’t apply more product than the wood can absorb. Remove puddles, protect nearby surfaces, and keep foot traffic off the deck until fully cured.
Frequently Asked Questions
How Often Should a Restored Deck Be Inspected for New Damage?
Inspect your restored deck every six months as part of your deck maintenance inspection schedule. Check after severe storms, too; look for cracks, loose fasteners, rot, stains, and drainage problems, then repair damage promptly.
Can Weathered Decking Be Repaired During Cold or Rainy Weather?
You can’t safely repair weathered decking during rain or freezing temperatures; seasonal delays help materials cure properly. Wait for dry, moderate conditions, then apply weatherproof coatings only when surfaces are clean, dry, and manufacturer-approved.
What Safety Precautions Should Homeowners Take During Deck Restoration?
You’ll protect yourself by wearing safety gear, including gloves, goggles, and nonslip footwear. Inspect boards, secure loose nails, keep children away, ventilate cleaners, follow labels, and avoid deck cleaning on wet, icy surfaces.
How Long Should Furniture Remain off the Deck After Restoration?
Like wet paint, restored decking needs protection: you should keep furniture off for at least 48 hours, or longer if the finish remains tacky. Check drying time and follow product instructions before furniture placement.
When Should a Professional Contractor Handle Deck Restoration?
Hire a professional contractor when boards show structural damage, widespread rot, unsafe railings, or extensive staining. You’ll also benefit when you lack equipment or experience applying deck staining and wooden sealing properly.
About the Author


